How to catch your application errors easily with Sentry and Docker!


What is Sentry?
Sentry provides open source error tracking that shows you every crash in your stack as it happens, with the details needed to prioritize, identify, reproduce, and fix each issue. It also gives you information your support team can use to reach out to and help those affected and tools that let users send you feedback for peace of mind.
Chloe Condon, Developer Evangelist(a) at @getsentry
What Sentry need for running
Sentry itself use 3 services: a web server, asynchronous workers, and a cron process.
The asynchronous worker is used for not writing directly into the database by the web server, it's an essential part if you want to scale or handle a large number of errors.
And finally, Sentry use a PostgreSQL database and a broker.
The broker is used between the web server and asynchronous workers. Sentry support both Redis and RabbitMQ, we will use Redis.
Creating our docker stack
Let's create a first stack without any Sentry configuration for now.
version: "3.4"
networks:
  internal:
    driver: overlay
    attachable: true

services:
  web:
    image: sentry:8.22
    deploy:
      restart_policy:
        condition: on-failure
    networks:
      - internal
    ports:
      - 9000:9000
    depends_on:
      - redis
      - postgres
  cron:
    image: sentry:8.22
    command: run cron
    deploy:
      restart_policy:
        condition: on-failure
    networks:
      - internal
    depends_on:
      - redis
      - postgres
  worker:
    image: sentry:8.22
    command: run worker
    deploy:
      restart_policy:
        condition: on-failure
    networks:
      - internal
    depends_on:
      - redis
      - postgres

  redis:
    image: redis:alpine
    networks:
      - internal

  postgres:
    image: postgres
    volumes:
      - pgdata:/var/lib/postgresql/data
    restart: always
    environment:
      POSTGRES_USER: sentry
      POSTGRES_PASSWORD: change_me

volume:
  pgdata:
Note: If you don't have a volume storage driver other than local on your Docker Swarm cluster, it could be recommended to use a Postgres service hosted by your cloud provider like Azure Database for PostgreSQL or Amazon RDS for PostgreSQL.
Adding Sentry configuration
For configuring Sentry, we will need:
- An SMTP server
- A secret, you can generate it through
docker run --rm sentry config generate-secret-key
And we will add it using environment variables on all Sentry services:
SENTRY_EMAIL_HOST: "my.smtp.com"
SENTRY_EMAIL_PORT: 587
SENTRY_EMAIL_USER: my_user
SENTRY_EMAIL_PASSWORD: "my_password"
SENTRY_EMAIL_USE_TLS: "true"

SENTRY_SECRET_KEY: "my_secret"
SENTRY_SERVER_EMAIL: "sentry@my_domain.com"

SENTRY_POSTGRES_HOST: "postgres"
SENTRY_DB_USER: "sentry"
SENTRY_DB_PASSWORD: change_me
SENTRY_REDIS_HOST: redis
Adding deployment rules
The Web server and the asynchronous jobs worker are the two part that scales nicely, and for HA, you should have, at least, 2 of them running.
But, for the cron service, it should be only one instance at a time.
Final stack file
# sentry.yml
version: "3.4"
networks:
  internal:
    driver: overlay
    attachable: true

services:
  web:
    image: sentry:8.22
    environment:
      SENTRY_EMAIL_HOST: "my.smtp.com"
      SENTRY_EMAIL_PORT: 587
      SENTRY_EMAIL_USER: my_user
      SENTRY_EMAIL_PASSWORD: "my_password"
      SENTRY_EMAIL_USE_TLS: "true"
      SENTRY_SECRET_KEY: "my_secret"
      SENTRY_SERVER_EMAIL: "sentry@my_domain.com"
      SENTRY_POSTGRES_HOST: "postgres"
      SENTRY_DB_USER: "sentry"
      SENTRY_DB_PASSWORD: change_me
      SENTRY_REDIS_HOST: redis
    depends_on:
      - init
      - redis
      - postgres
    deploy:
      mode: replicated
      replicas: 2
      restart_policy:
        condition: on-failure
    networks:
      - internal
    ports:
      - 9000:9000

  cron:
    image: sentry:8.22
    command: run cron
    environment:
      SENTRY_EMAIL_HOST: "my.smtp.com"
      SENTRY_EMAIL_PORT: 587
      SENTRY_EMAIL_USER: my_user
      SENTRY_EMAIL_PASSWORD: "my_password"
      SENTRY_EMAIL_USE_TLS: "true"
      SENTRY_SECRET_KEY: "my_secret"
      SENTRY_SERVER_EMAIL: "sentry@my_domain.com"
      SENTRY_POSTGRES_HOST: "postgres"
      SENTRY_DB_USER: "sentry"
      SENTRY_DB_PASSWORD: change_me
      SENTRY_REDIS_HOST: redis
    depends_on:
      - init
      - redis
      - postgres
    deploy:
      mode: replicated
      replicas: 1
      restart_policy:
        condition: on-failure
    networks:
      - internal
  worker:
    image: sentry:8.22
    command: run worker
    environment:
      SENTRY_EMAIL_HOST: "my.smtp.com"
      SENTRY_EMAIL_PORT: 587
      SENTRY_EMAIL_USER: my_user
      SENTRY_EMAIL_PASSWORD: "my_password"
      SENTRY_EMAIL_USE_TLS: "true"
      SENTRY_SECRET_KEY: "my_secret"
      SENTRY_SERVER_EMAIL: "sentry@my_domain.com"
      SENTRY_POSTGRES_HOST: "postgres"
      SENTRY_DB_USER: "sentry"
      SENTRY_DB_PASSWORD: change_me
      SENTRY_REDIS_HOST: redis
    depends_on:
      - init
      - redis
      - postgres
    deploy:
      mode: replicated
      replicas: 2
      restart_policy:
        condition: on-failure
    networks:
      - internal

  redis:
    image: redis:alpine
    networks:
      - internal

  postgres:
    image: postgres
    volumes:
      - pgdata:/var/lib/postgresql/data
    deploy:
      mode: replicated
      replicas: 1
      restart_policy:
        condition: on-failure
    environment:
      POSTGRES_USER: sentry
      POSTGRES_PASSWORD: change_me
    networks:
      - internal

volumes:
  pgdata:
Deploying our stack for the first time
It's a tricky part because the stack will not run as-is. We need to run the database migration and creating our first user.
For that, we will deploy our stack for having a running Redis and Postgres:
$ docker stack deploy -c sentry.yml sentry
And now migrate/create our database:
$ docker run -ti --rm \
    --network sentry_internal \
    -e SENTRY_SECRET_KEY=my_secret \
    -e SENTRY_POSTGRES_HOST=postgres \
    -e SENTRY_DB_USER=sentry \
    -e SENTRY_DB_PASSWORD=change_me \
    -e SENTRY_REDIS_HOST=redis \
    sentry:8.22 upgrade --noinput
Create our first user:
$ docker run -ti --rm \
    --network sentry_internal \
    -e SENTRY_SECRET_KEY=my_secret \
    -e SENTRY_POSTGRES_HOST=postgres \
    -e SENTRY_DB_USER=sentry \
    -e SENTRY_DB_PASSWORD=change_me \
    -e SENTRY_REDIS_HOST=redis \
    sentry:8.22 createuser
What's next?
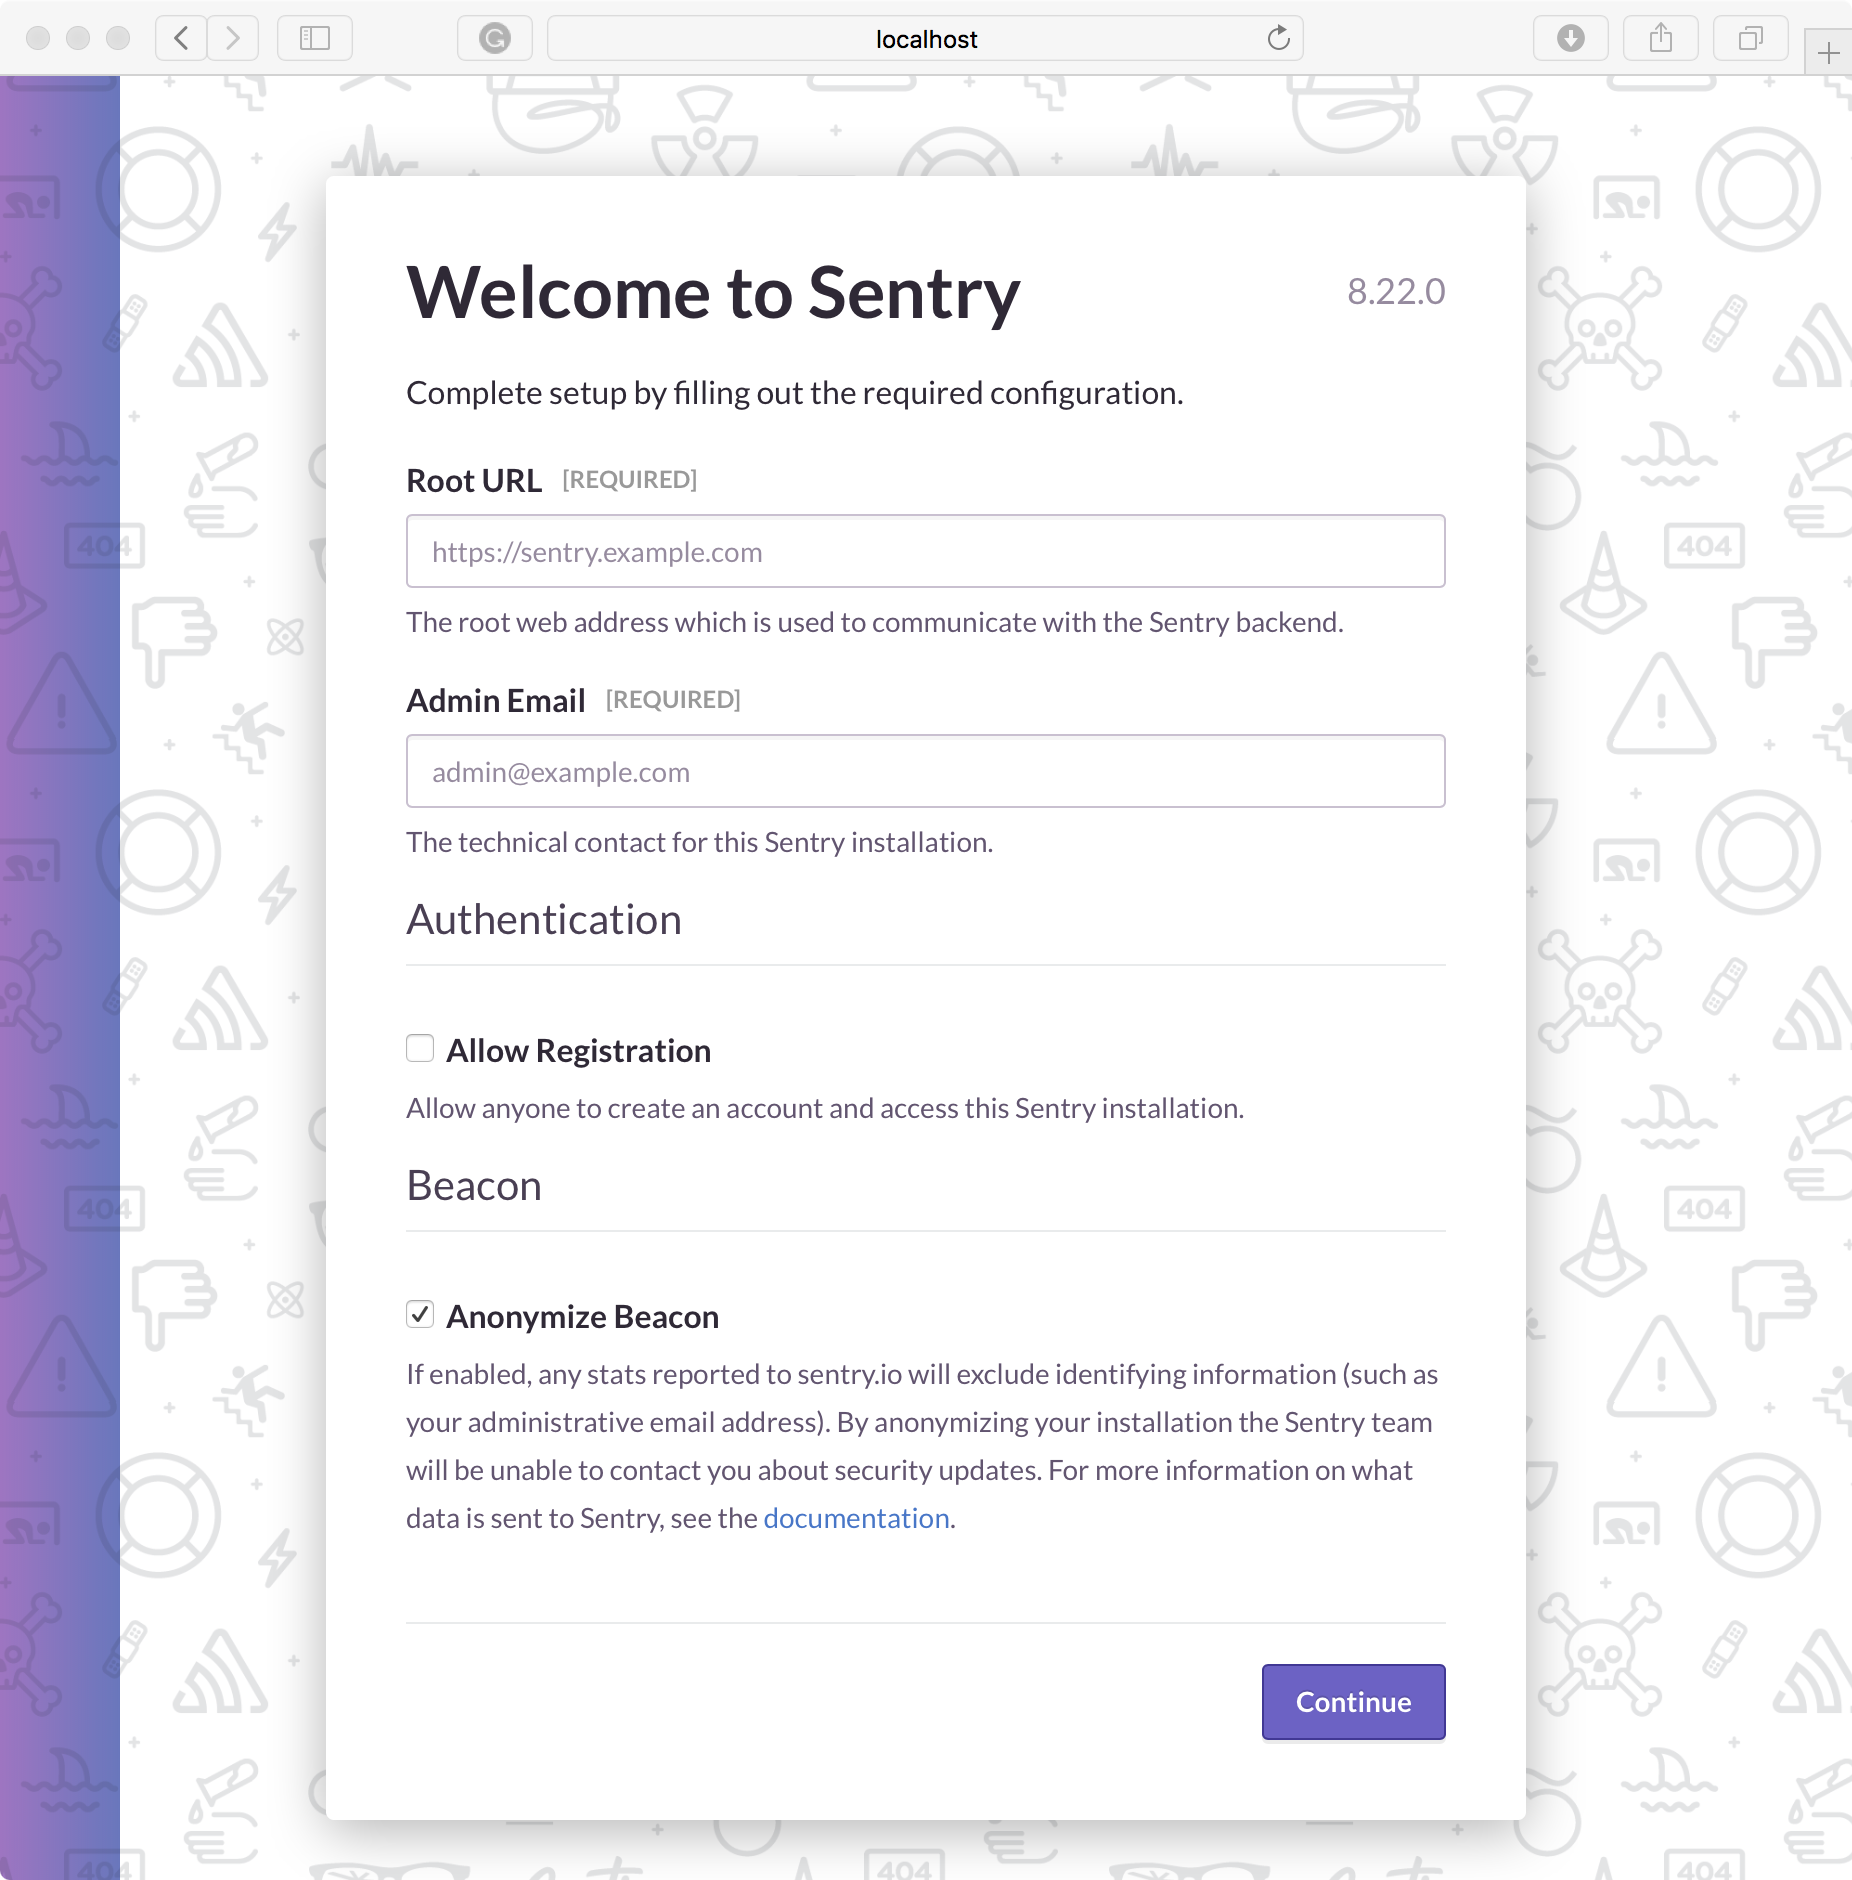
Ok, it's fun we have a running Sentry, but we would like to use it now. Let's go in for the first time and configure our first project.
Go to your swarm URL, in my case, it's http://localhost:9000, and configure your instance for the first time.
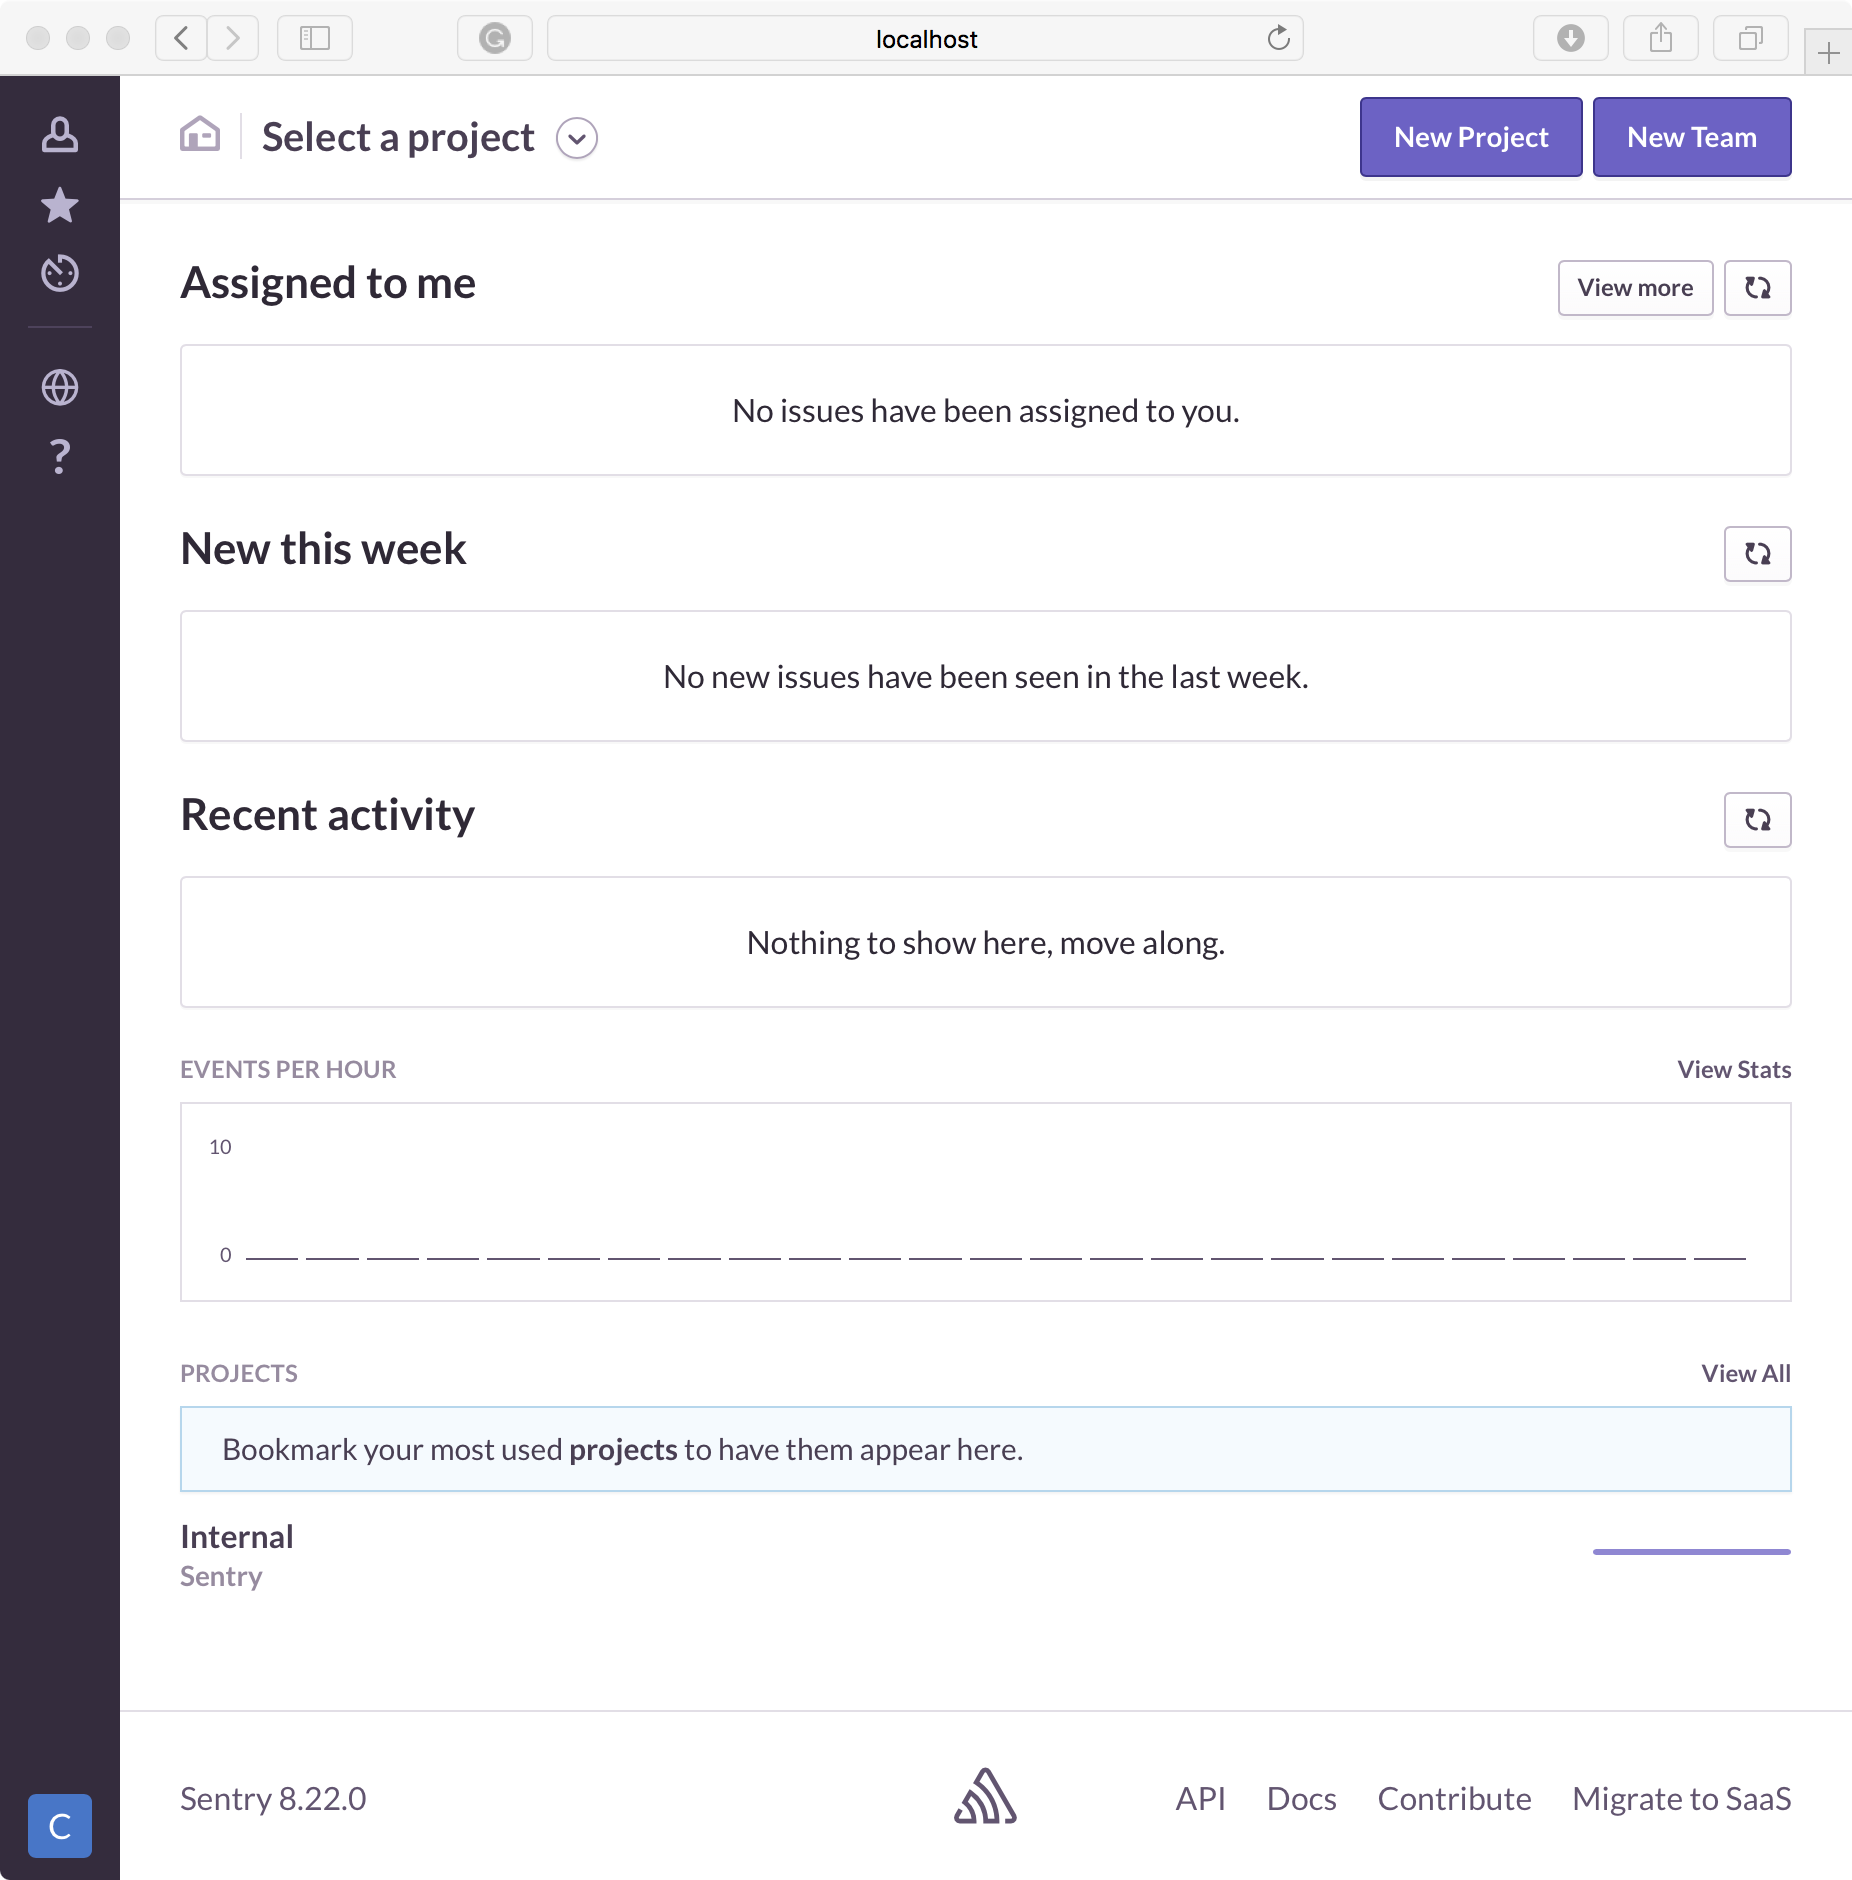
You can now see an empty dashboard. We will add a new project.
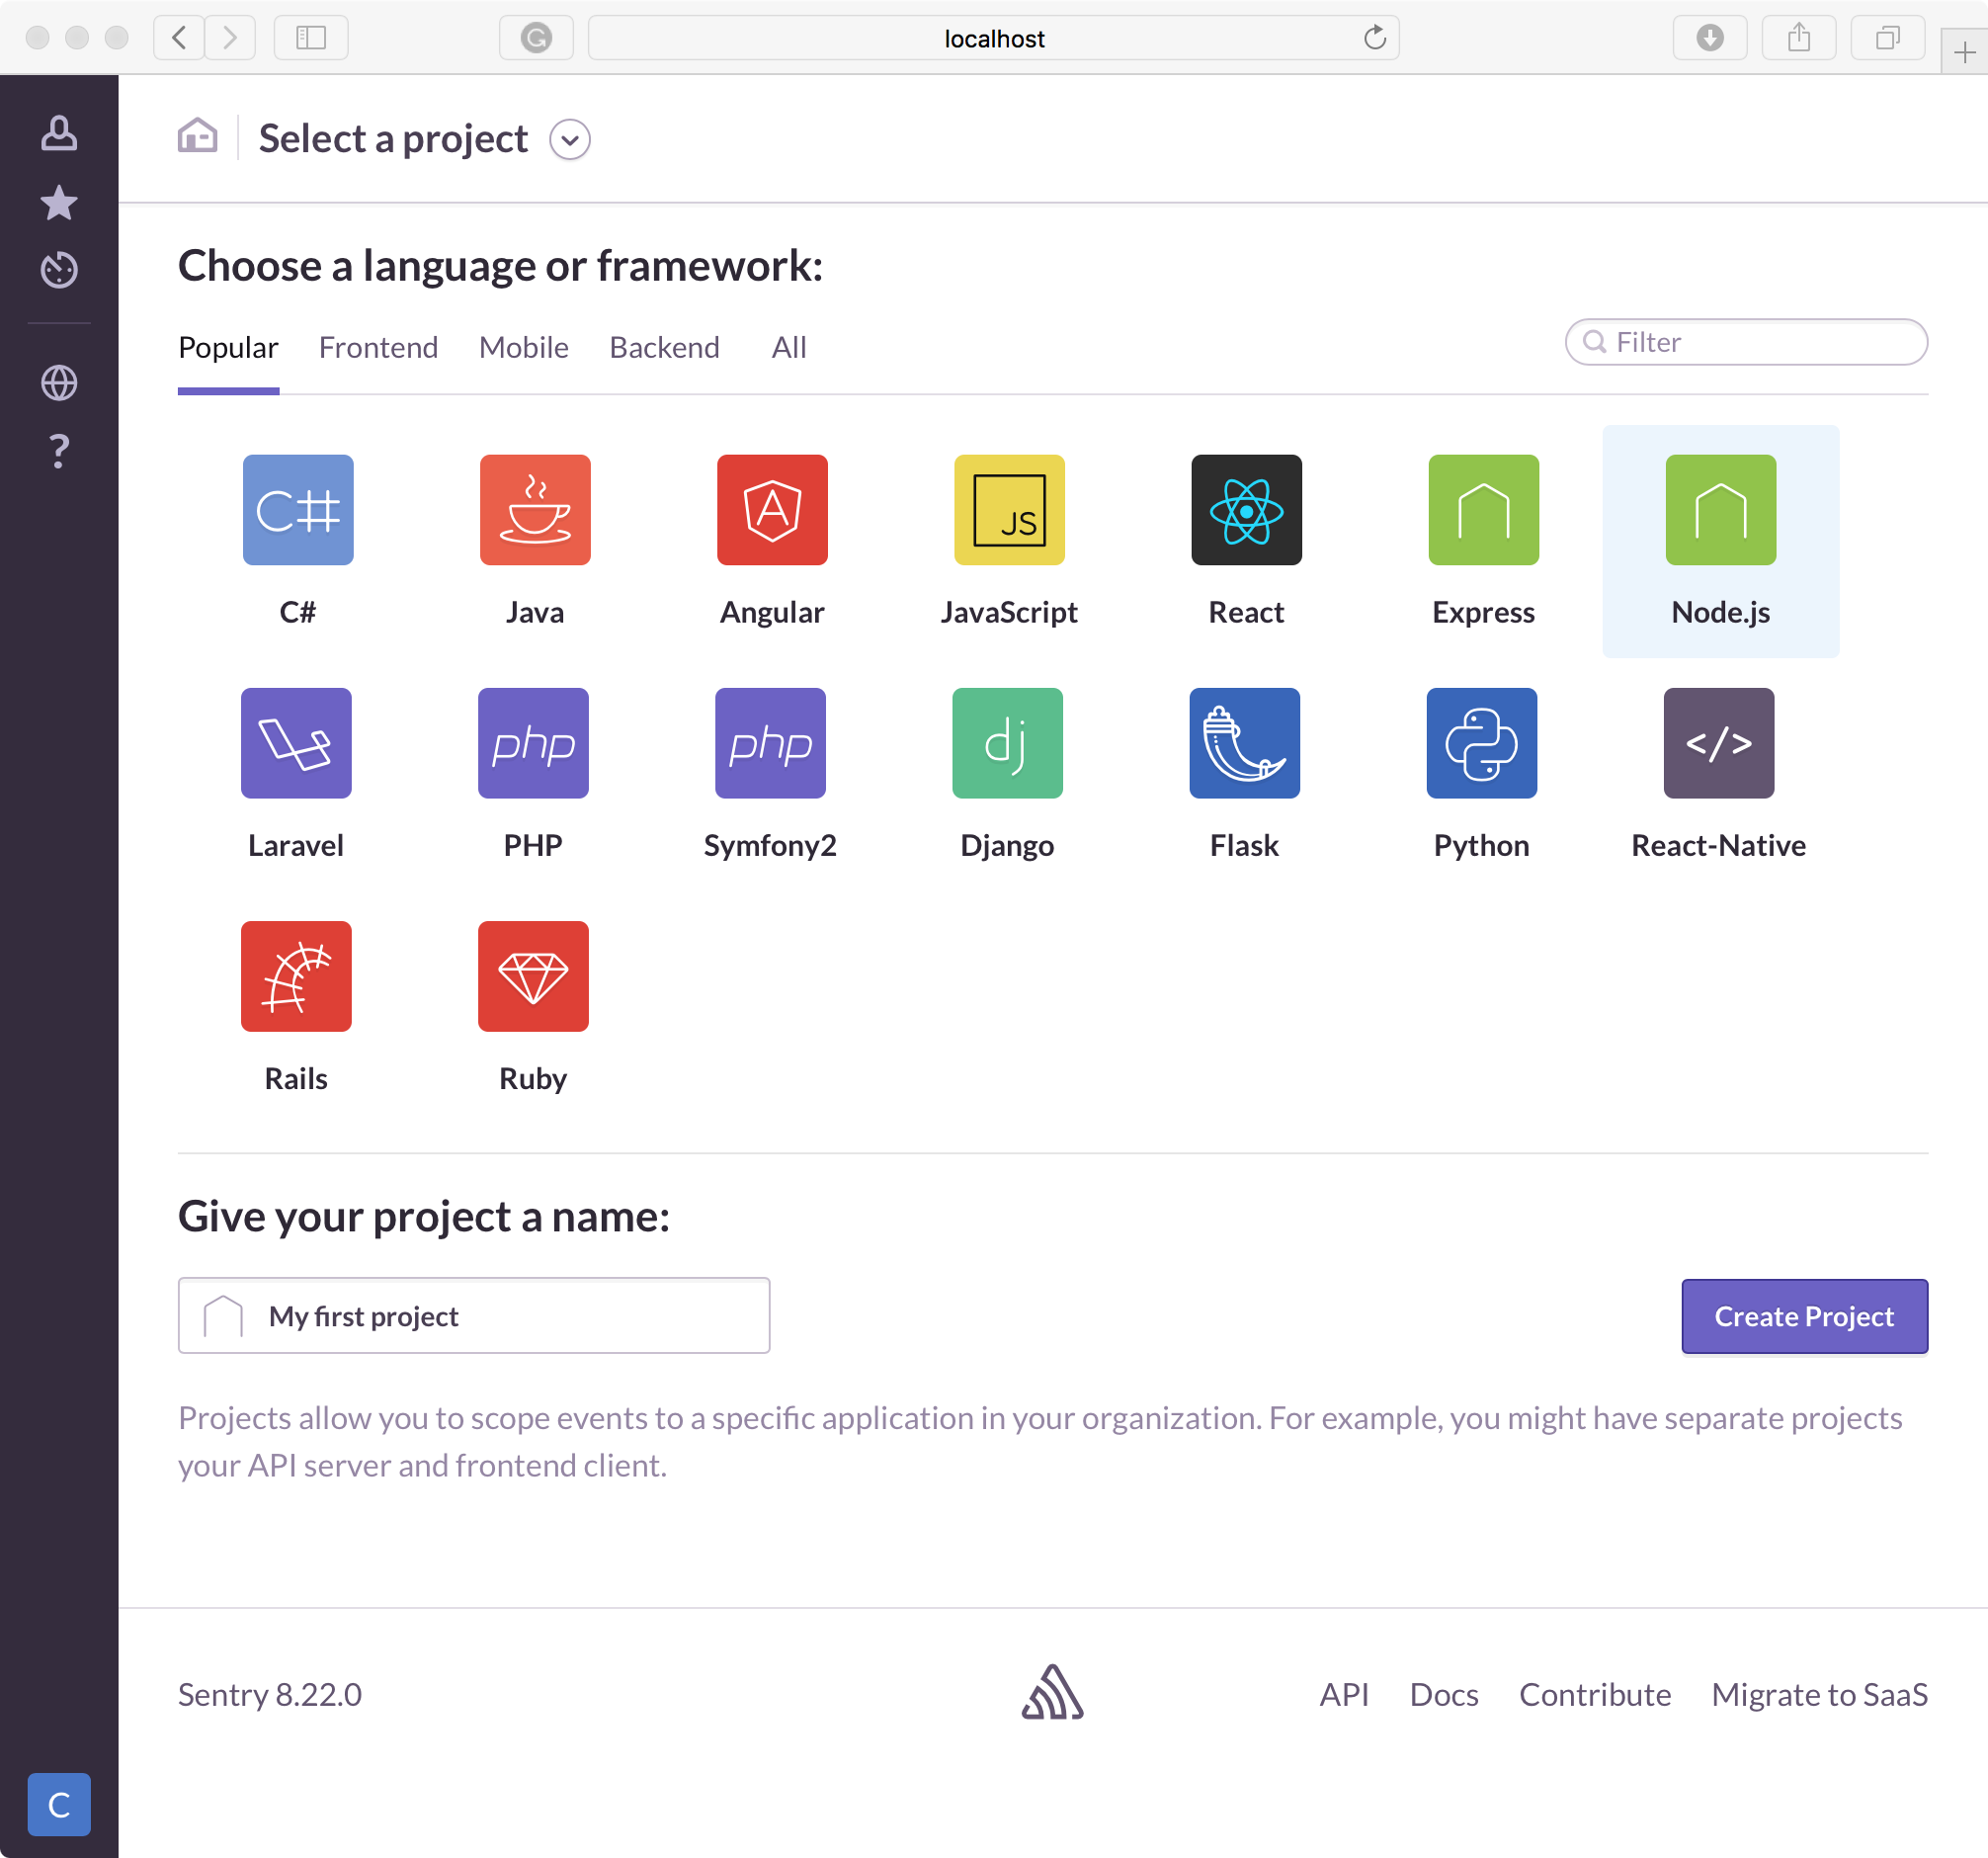
We will create a Node.js project.
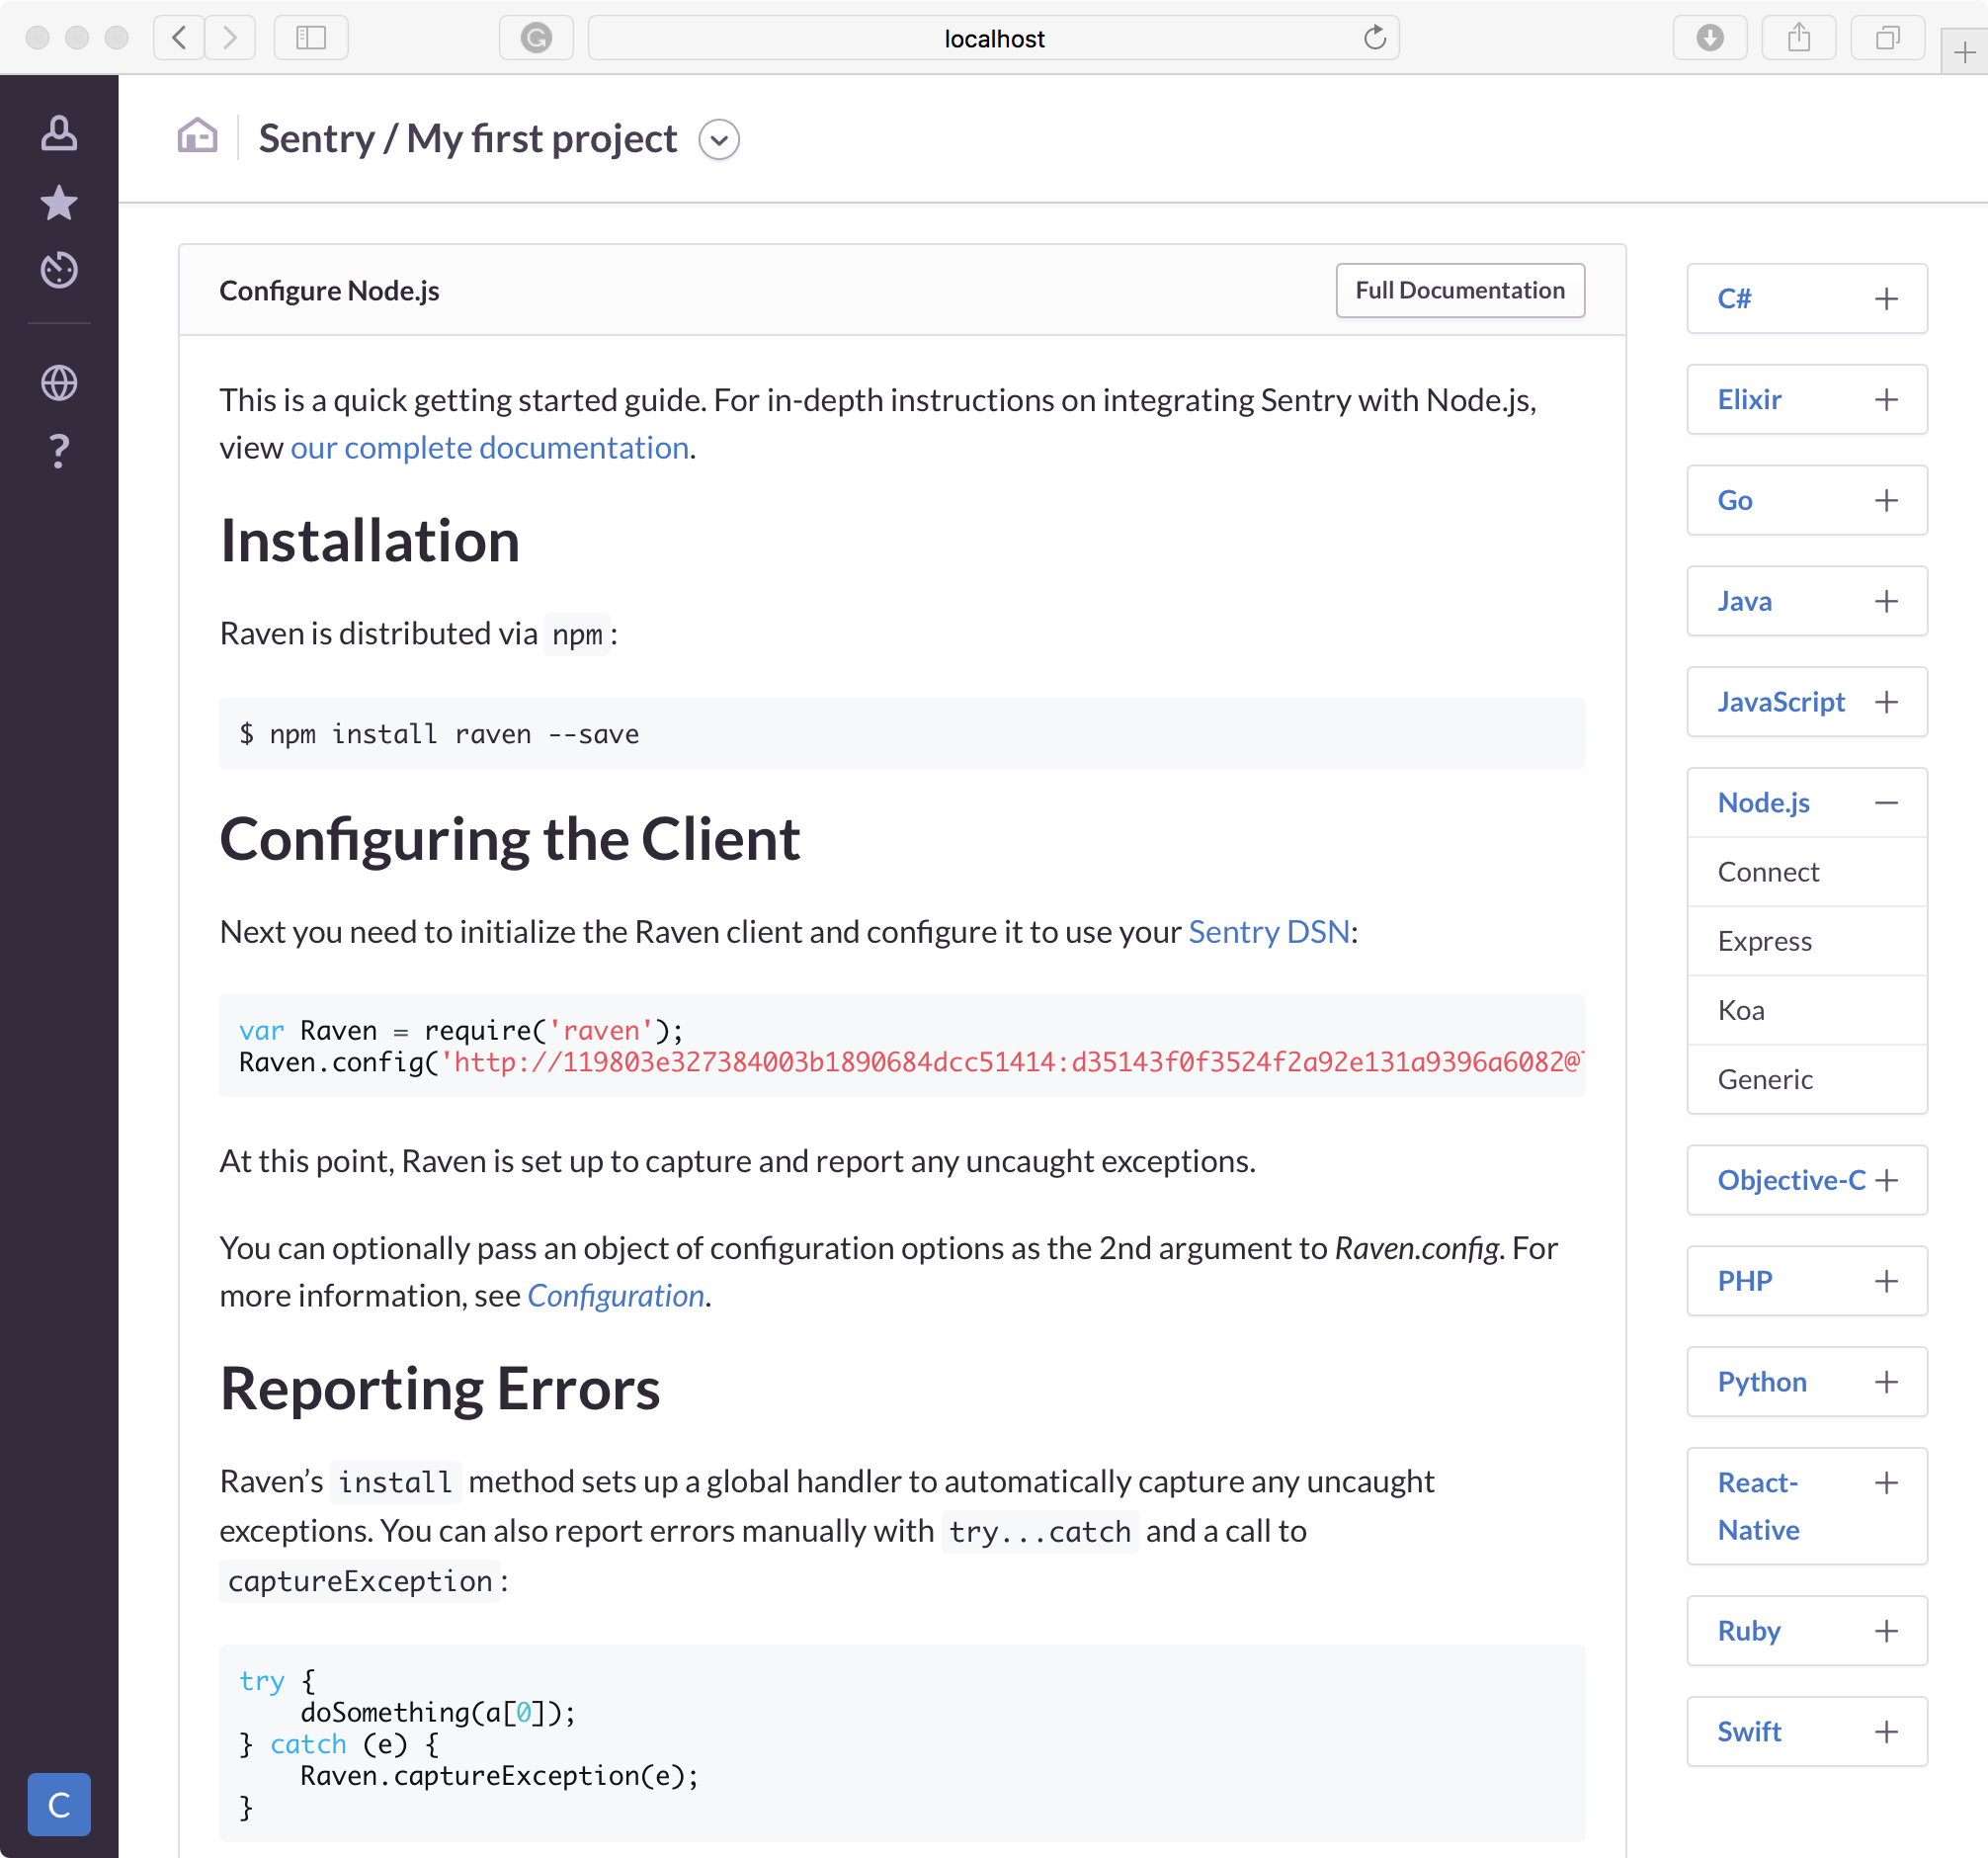
And now, we have the instruction for updating our code with the sentry library (Raven).
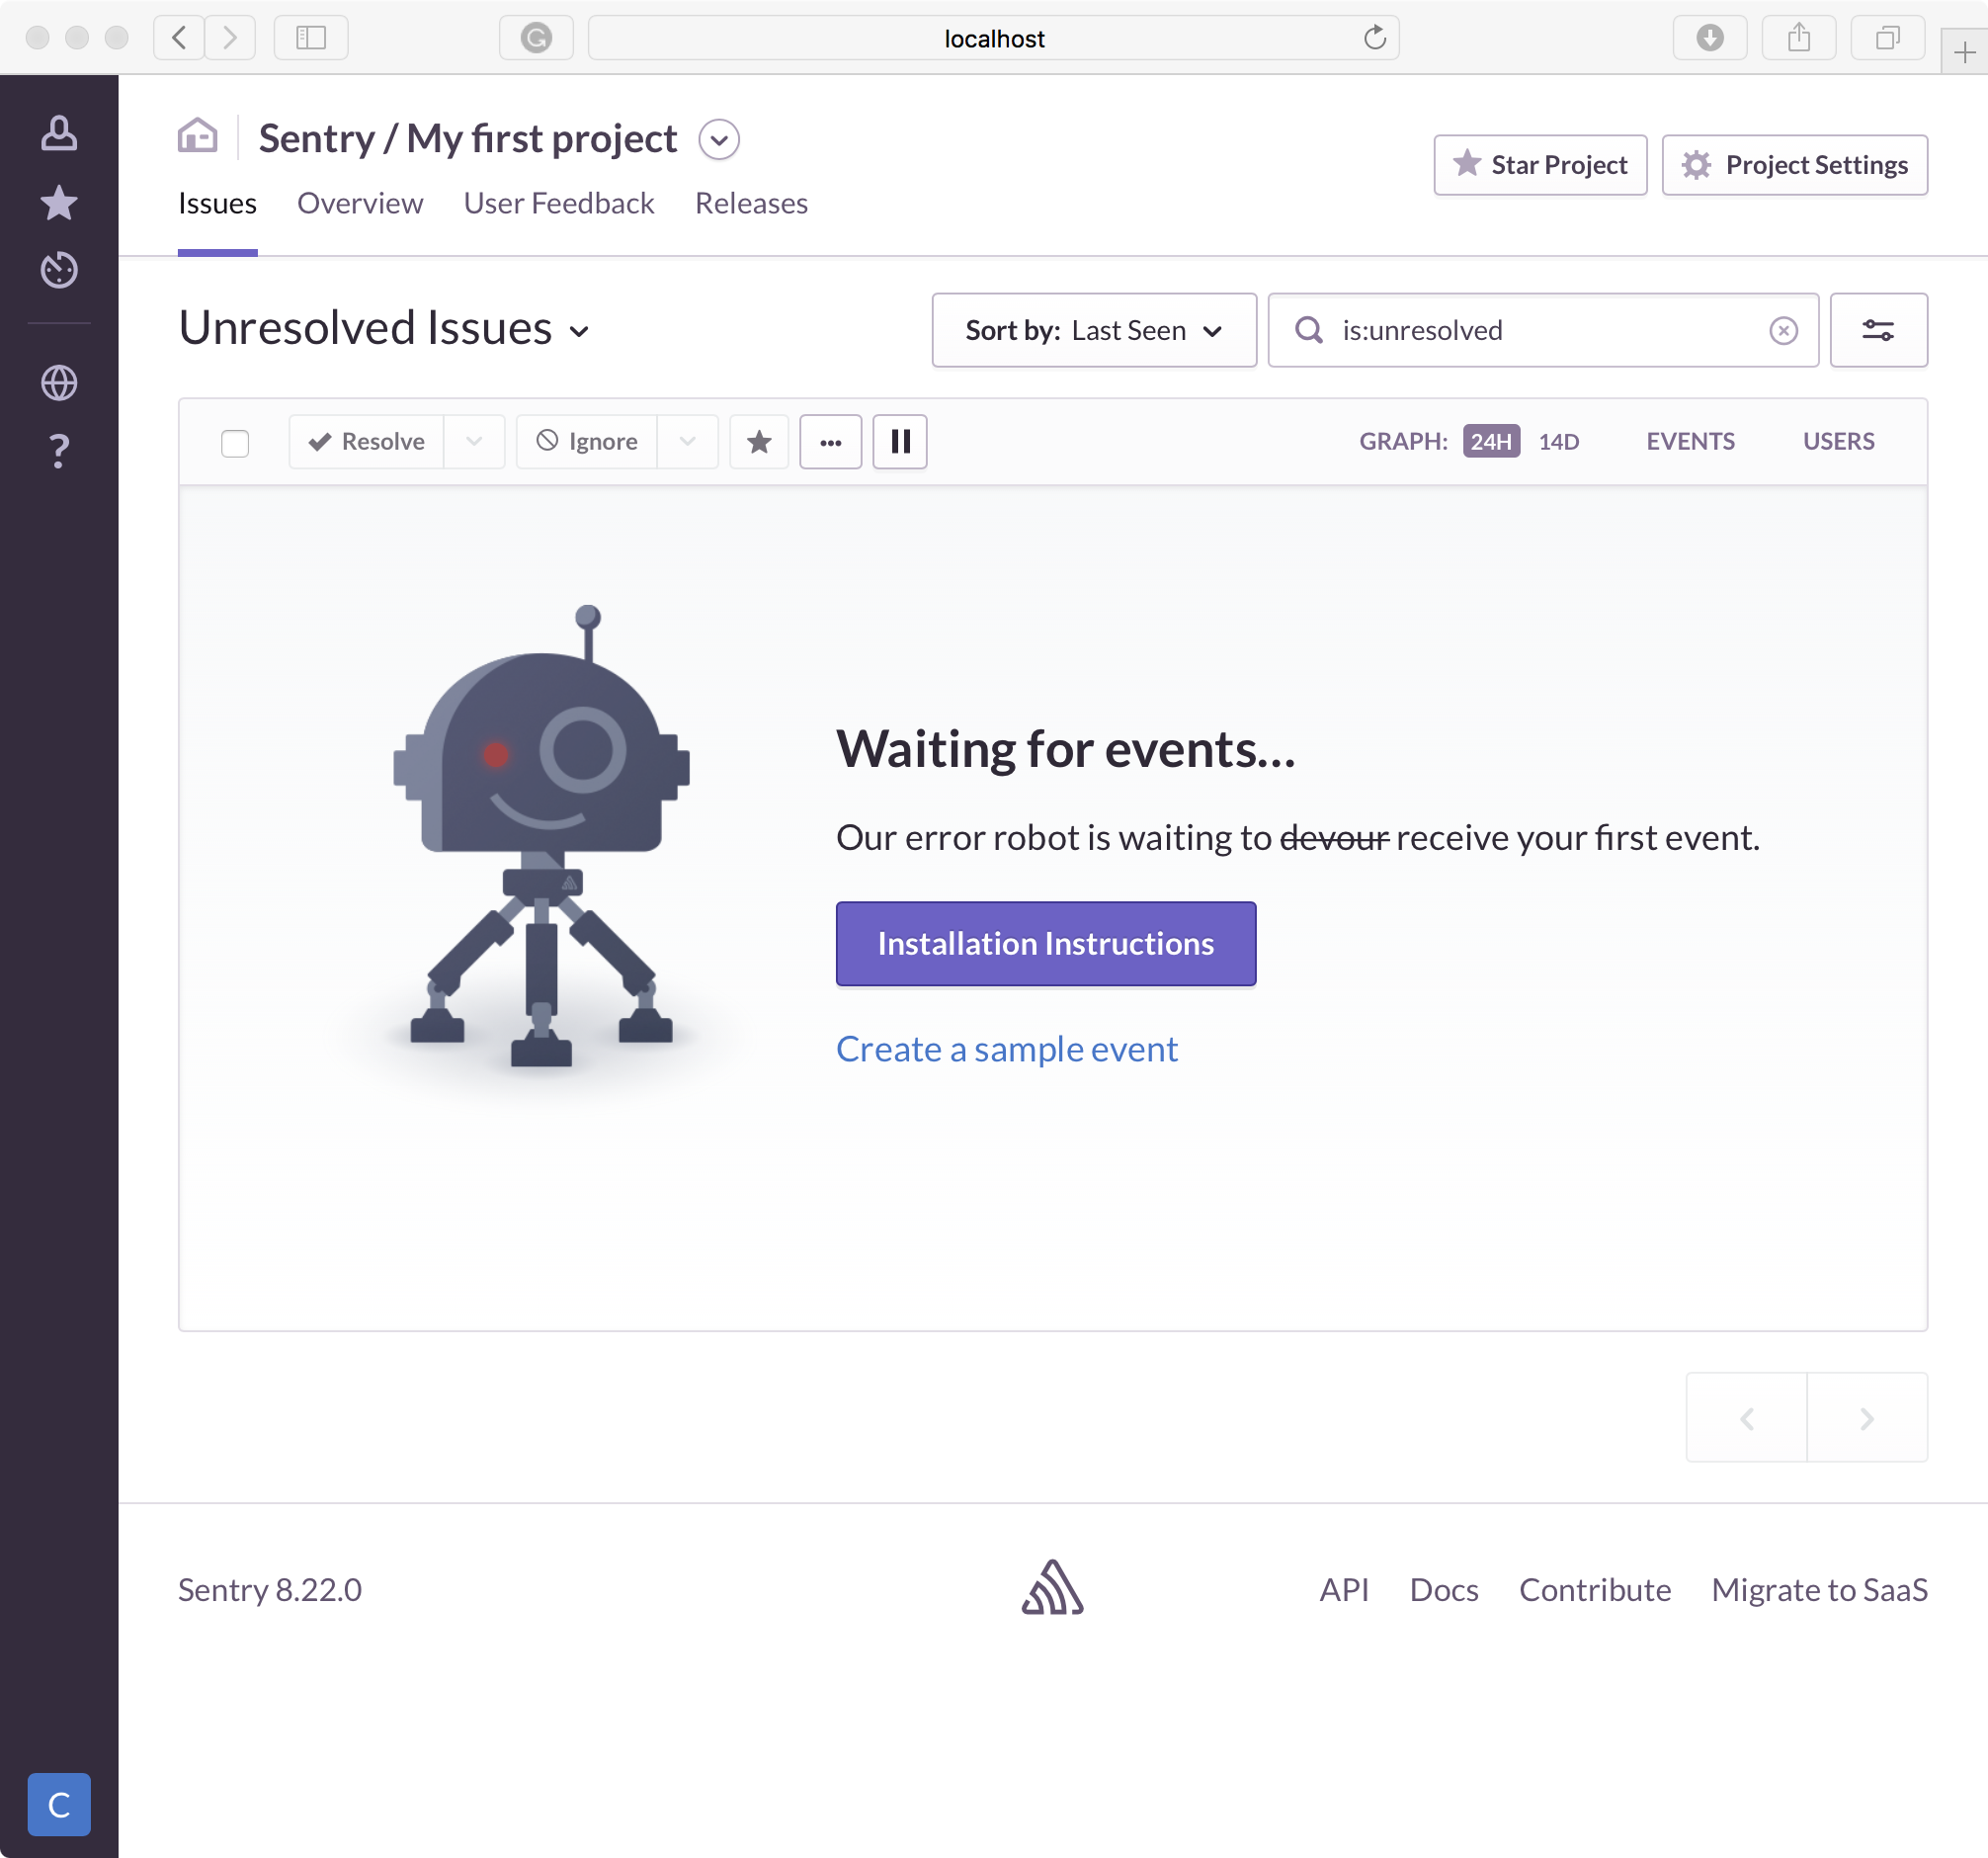
Once, it's done, we should have a nice "Waiting for event" dashboard.
Conclusion
As you can see, it's straightforward to host Sentry on Docker Swarm, and, it's a perfect solution for error tracking.
Now, you can add some excellent functionalities to Sentry like Google Auth, or Github/Jira integration for creating new issues automatically or by pushing a button.
If you find a typo, have a problem when trying what you see in this article, please contact me!